Xamarin iOS - Continuous deployment to HockeyApp using VSTS
| 5 min read
> This article is part of blog series VSTS, Xamarin and Continuous Integration. Why does it matter? > > * For instructions on, see article Setting up your own build and release agent on Mac OSX / macOS > * For instructions on, see article How to set up build definition for Xamarin iOS
Now since we have the artifacts ready under drop folder. We can create a new release definition that would trigger when the build is succeeded.
> A release definition is > > 1. The types and sources of artifacts that make up new releases. > 2. The collection of environments in which the artifacts can be deployed. > 3. The automation tasks that can be executed in each environment.
The role of our release definition is -
- It use the files (binaries and packages) that got created from build
- Upload these packages and binaries to HockeyApp
- HockeyApp will trigger the email to beta testers or focus groups
Prerequisites -
We need following things in place before we can start creating release definition for Xamarin iOS app -
- HockeyApp account (API Key and App ID)
- HockeyApp extension (you can install it on your VSTS by following instructions)
- Xamarin iOS specific build definition with required artifacts
Getting the essentials up and running
Retrieving HockeyApp API Key -
- Login to HockeyApp
- Go to Settings (by clicking Avatar on top right corner) -> API Keys
- Create a new API Token (or use existing if you already have)

- Copy newly generated API key

Adding HockeyApp Service -
- Login to VSTS, Select Repository and click on Settings icon on top right corner
- Go to Services tab
- Add New Service Endpoint -> HockeyApp
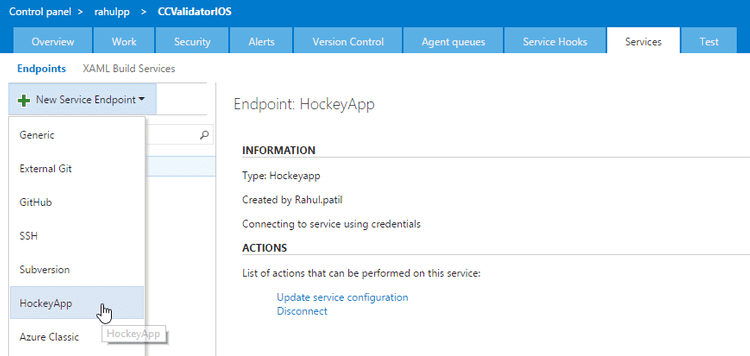
- Chose a name for this service endpoint e.g. HockeyApp-Connection and enter API key that you generated in earlier steps
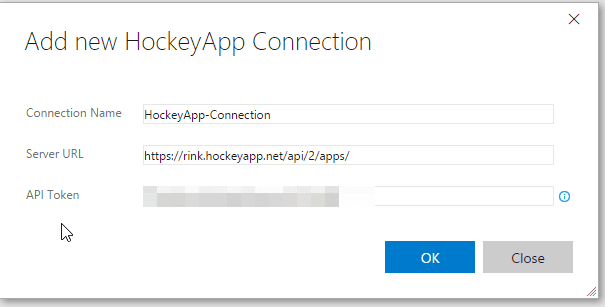 ![Machine generated alternative text: Add new HockeyApp Connection Connection Name Server URL API Token HockeyApp Connection https://rink.hock—yapp.net/apv'2/apps/ Close ]


Retrieving App ID -
- Go to HockeyApp dashboard
- Add a new iOS app. Make sure you provide exact package name while creating a new app.
- Copy App ID provided under Manage App dashboard -
[
 ]
]
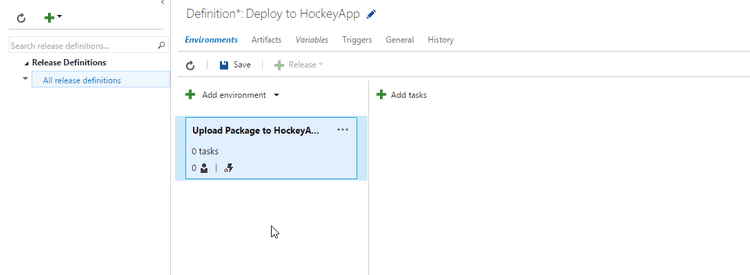
Create a new release definition for Xamarin -
- Open VSTS dashboard and select Xamarin iOS project
- Head over to Release tab
- Click on + icon to create a new release definition.
- Select an empty template
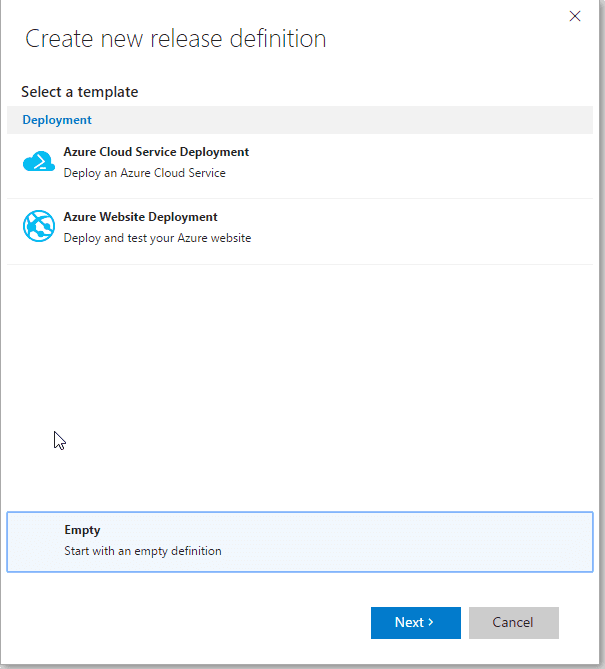
- Hit Next >
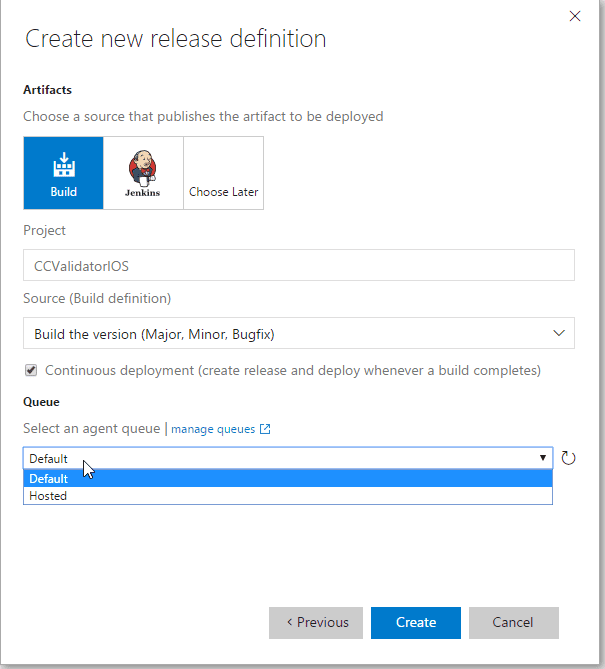
- Select the Source Build Definition which you want to link to the release definition. If you want to deploy the app as soon as a build is succeed Tick the Continuous Deployment checkbox. Also select the queue in which Mac agent is present.
- Now you have default Release definition template in place. You can rename Release Definition to your choice. You can also rename environment. Right now we are dealing with only single environment as this is less complex solution. You can define release tasks based on different environments if you wish to be. I will probably blog about it in future.


Adding tasks to Release Definition
- Hit "Add tasks" button
- Click on Deploy in left pane if it is not already selected and Click Add button in front of Release Task named "HockeyApp"

- Once you add HockeyApp task, it should be added in an environment in the background. Click Close. Bad, bad UX.
- This will be the default HockeyApp task with no values. Select the service you created from HockeyApp connection dropdown (this is why you should name it right, to avoid confusions)
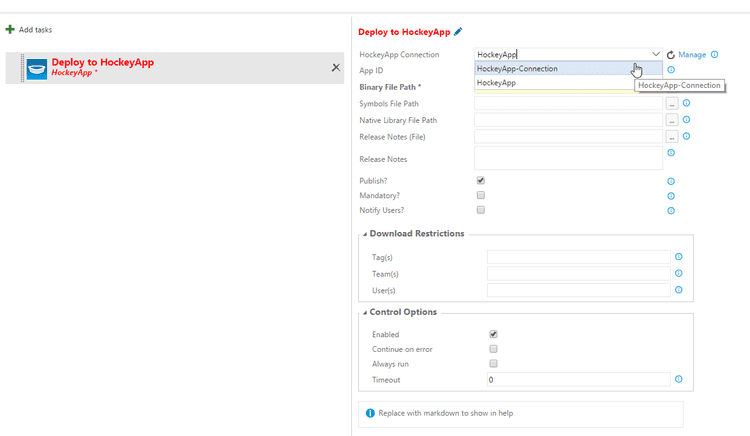
- Paste App ID you copied from HockeyApp > Manage Apps section
- In Binary File Path, enter : */.ipa. With iOS builds, it's easy to get the required file since only single package is generated. This expression will find and select first .ipa file from the artifacts directory.
- Save the definition.
- You can either queue the build or manually trigger Release to check if everything is fine. If you have provided correct Keys and IDs and the build manifests are correct, you will see a new build pushed to HockeyApp.


This is how you continuously deploy your apps to HockeyApp. Isn't it a smooth process? This used to take more than 4-5 hours for us when Mobile DevOps were not that mature. There are other platforms where you can deploy the app. Even Google Play Store for that instance but I don't want to flag my publisher account just for the sake of blog / demo purpose so I didn't go with that option. ;-)
Once you know how it works, the whole Mobile DevOps world is open for new ideas of pushing the app to distribution channels.
Keep launching, RP